Setup Guide: Difference between revisions
Jump to navigation
Jump to search
Dea7hsmiles (talk | contribs) No edit summary Tags: Reverted Visual edit: Switched |
Dea7hsmiles (talk | contribs) No edit summary Tag: Reverted |
||
| Line 5: | Line 5: | ||
This installs dependencies (like DirectX) and sets paths for MAMEHooker based on its location, since MAMEHooker has trouble using relative paths. | This installs dependencies (like DirectX) and sets paths for MAMEHooker based on its location, since MAMEHooker has trouble using relative paths. | ||
<!-- | <!-- Use the ORIGINAL GIF (no thumb/frameless/width) so it stays animated on the page --> | ||
[[File:Setup.gif|left| | [[File:Setup.gif|left|link=|alt=Installation animation]] | ||
<!-- | <!-- If you prefer video (usually sharper/smaller) and have TimedMediaHandler enabled, | ||
comment the GIF line above and uncomment this WebM embed: | |||
[[File:Setup.webm | [[File:Setup.webm|left|800px|autoplay|loop|muted|playsinline|Installation animation]] | ||
--> | --> | ||
| Line 73: | Line 73: | ||
: Gun 4 → COM9 | : Gun 4 → COM9 | ||
: '''Turn off recoil switch (set slider to the middle)''' | : '''Turn off recoil switch (set slider to the middle)''' | ||
<!-- | |||
Notes: | |||
- If the GIF still appears static, purge caches: | |||
* Visit this page with ?action=purge and confirm | |||
* Visit File:Setup.gif with ?action=purge | |||
- If your server thumbnails with GD (first-frame only), enable ImageMagick/GraphicsMagick | |||
and raise $wgMaxAnimatedGifArea in LocalSettings.php, or stick with the original (no-thumb) embed above. | |||
--> | |||
Revision as of 01:14, 14 August 2025
Setup Guide
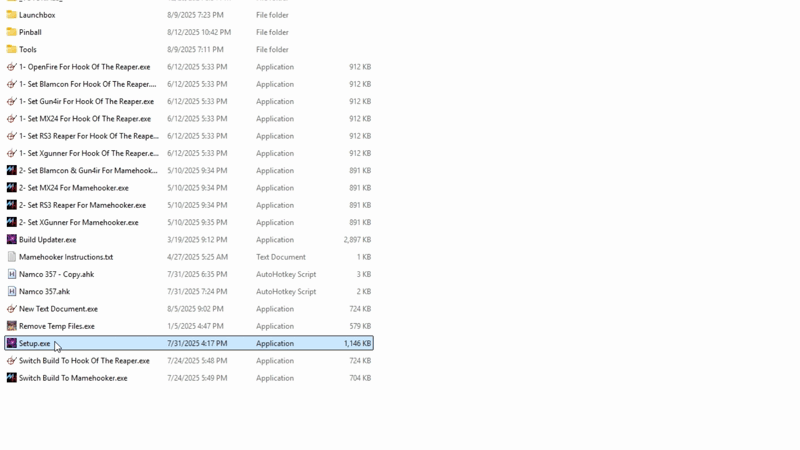
Step 1: Run Setup.exe
Run Setup.exe and go through the installation process. This installs dependencies (like DirectX) and sets paths for MAMEHooker based on its location, since MAMEHooker has trouble using relative paths.
Step 1.a: Choose a Drive Letter
This build uses almost all relative paths, so the drive letter does not matter. Choose a drive letter or use the letter that Windows assigned to the drive.
Step 1.b: Place the Build on the Root of Your Drive
If your build is on drive H:, for example the paths should look exactly as they do below:
H:\Launchbox
H:\Tools
If this step is skipped, the build will not work correctly. This is very important.
Step 2: MAMEHooker / Hook Of The Reaper Setup
Step 2.a: COM Port Setup
Set COM ports for all players based on gun type using the COM Port Assignment List below.
- Open Device Manager
- Expand Ports (COM & LPT)
- Right-click each device → Properties → Port Settings → Advanced
- Assign COM ports as follows.
- If you have trouble identifying Player 1 and Player 2 under (COM & LPT), unplug the guns and plug them back in one at a time; the correct device will disappear/reappear.
COM Port Assignment List
- OpenFire
- Gun 1 → COM1
- Gun 2 → COM2
- Blancom
- Gun 1 → COM1
- Gun 2 → COM2
- Gun4IR
- Gun 1 → COM1
- Gun 2 → COM2
- XGunner
- Gun 1 → COM1
- Gun 2 → COM2
- MX24
- Gun 1 & 2 → COM5 (Hub)
- RS3 Reaper
- Hub → COM5
- Gun 1 → COM6
- Gun 2 → COM7
- Gun 3 → COM8
- Gun 4 → COM9
- Turn off recoil switch (set slider to the middle)